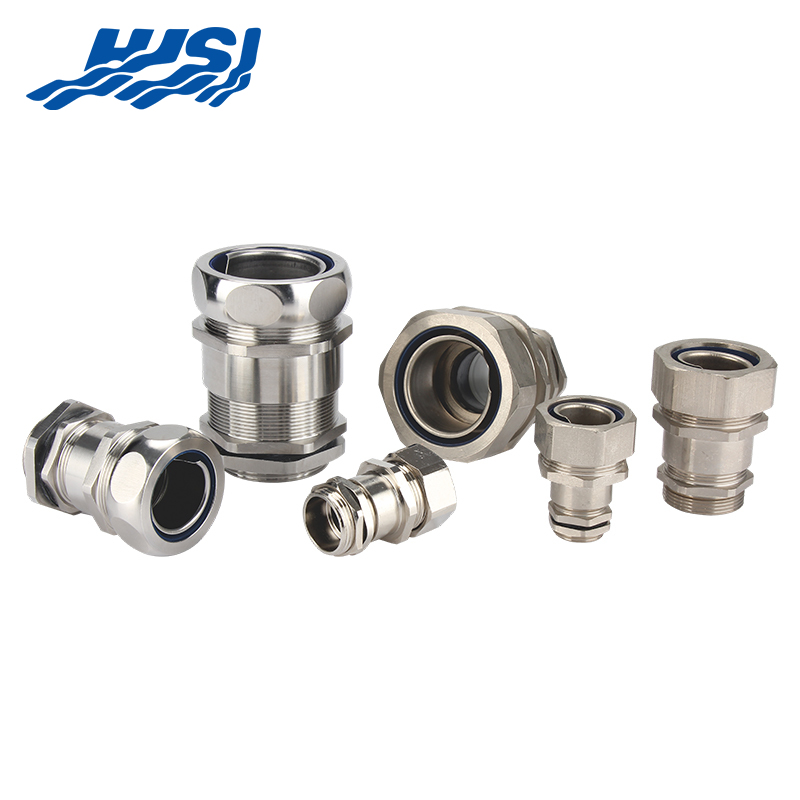
Conduit fittings connect, terminate, direct, and protect the tubing systems that carry electrical wiring in homes, offices, factories, and outdoor installations. These small but vital components—including the Conduit Gland—join conduit sections together, allow turns or branches, secure conduit to boxes or equipment, and help maintain a continuous protective pathway for conductors. Without fittings such as the Conduit Gland, conduit runs would remain incomplete, leaving wires exposed to damage, moisture, or mechanical stress.
A conduit fitting works by creating a reliable mechanical and, in many cases, environmental seal between conduit pieces or between conduit and other electrical enclosures. The fitting grips the conduit end—through threads, compression nuts, set screws, or adhesive bonding—and holds it firmly so the joint withstands pulling forces, vibration, or temperature shifts. Internally, the fitting provides a smooth passage so wires can be pulled through without catching on sharp edges or kinks. Some fittings include gaskets, O-rings, or sealing washers to block water, dust, or corrosive vapors from entering the system.
Installation begins with preparing the conduit: cutting it to length, removing burrs from the cut end, and sliding or screwing the fitting into place. Once attached, the fitting aligns the conduit precisely, preventing misalignment that could pinch wires or weaken the assembly. In use, the fitting distributes stress evenly across the joint, resists loosening, and preserves the conduit's protective function over years of service. When maintenance or upgrades are needed, many fittings allow access for wire inspection or replacement without dismantling large sections of the run.
The practical value of conduit fittings lies in their ability to turn a collection of straight tubes into a flexible, organized wiring network. They enable routing around obstacles, branching to multiple devices, accommodating expansion and contraction, and terminating safely at panels or outlets. By doing so, fittings support safe, code-compliant electrical distribution in environments ranging from dry interior walls to exposed rooftop runs or underground burial.
Fittings match the conduit material to ensure compatibility and performance. Steel fittings, often galvanized or coated, deliver high mechanical strength and good conductivity. They suit indoor dry locations and areas requiring impact resistance.
Aluminum fittings weigh less than steel while offering natural corrosion resistance and solid grounding properties. They appear frequently in commercial and industrial settings where weight savings matter or where mild moisture exposure occurs.
Rigid PVC fittings pair with non-metallic conduit. Molded from impact-resistant polymer, they resist rust, many chemicals, and electrolytic corrosion. Solvent-cement joints create permanent, watertight connections ideal for damp basements, outdoor above-ground runs, or underground applications.
Some fittings blend materials—for instance, a metal body with a plastic insulating throat or a rubber gasket—to combine durability with sealing performance. Material choice depends on exposure conditions, mechanical demands, grounding needs, and local code expectations.
A range of fittings addresses the different tasks required in conduit systems.
Couplings extend conduit runs by joining two pieces end-to-end. Straight couplings align sections in a continuous line, using threaded, compression, or glued connections. They keep the internal diameter consistent so wire pulling remains smooth.
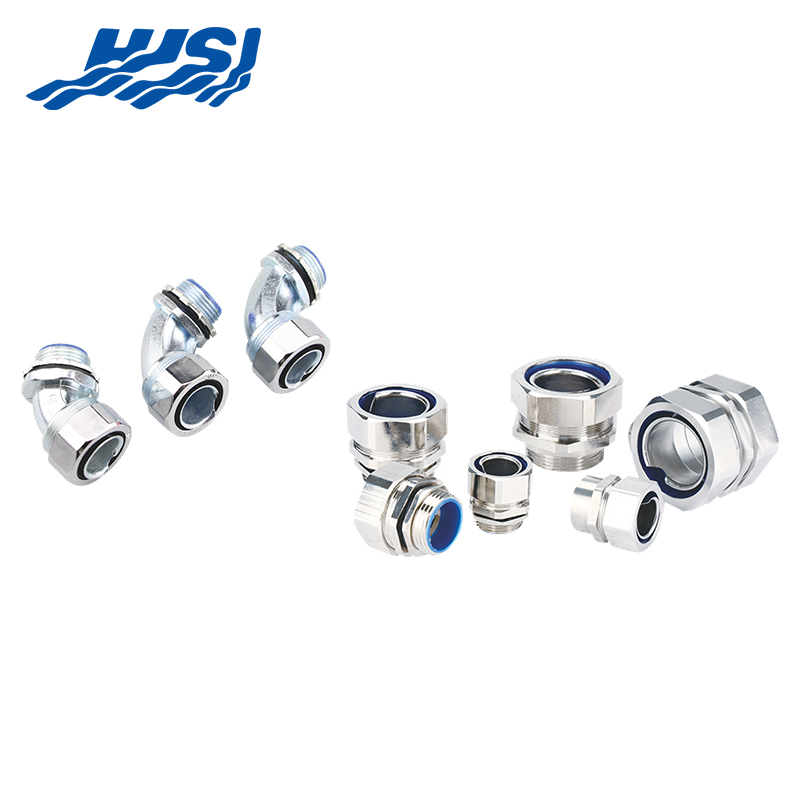
Elbows change direction, typically at 90 degrees or 45 degrees. The curved sweep inside prevents tight bends that could damage conductors. Access-style elbows include removable covers for pulling wires through longer or more complex turns.
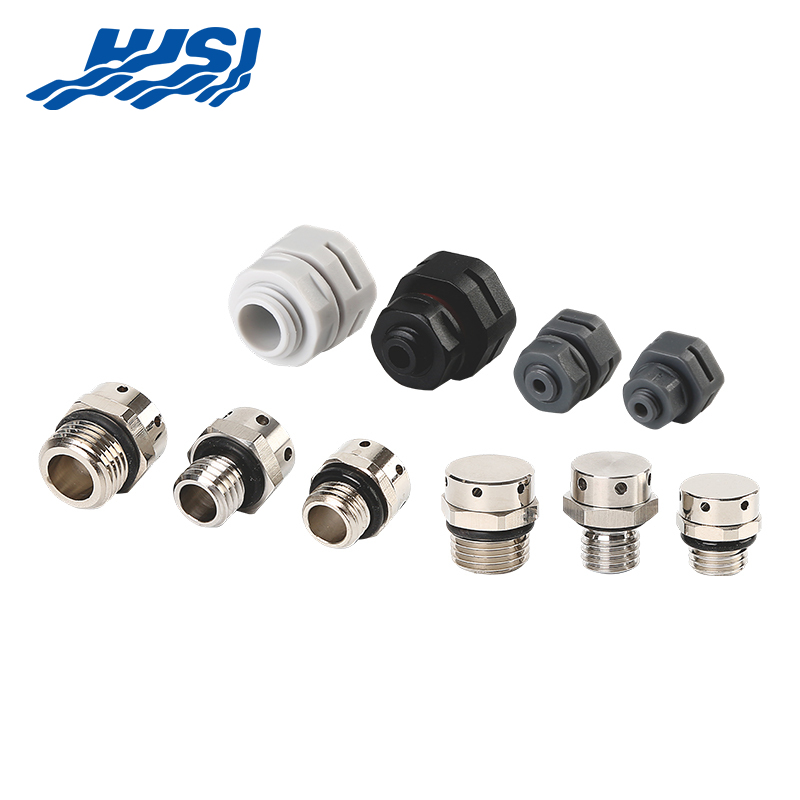
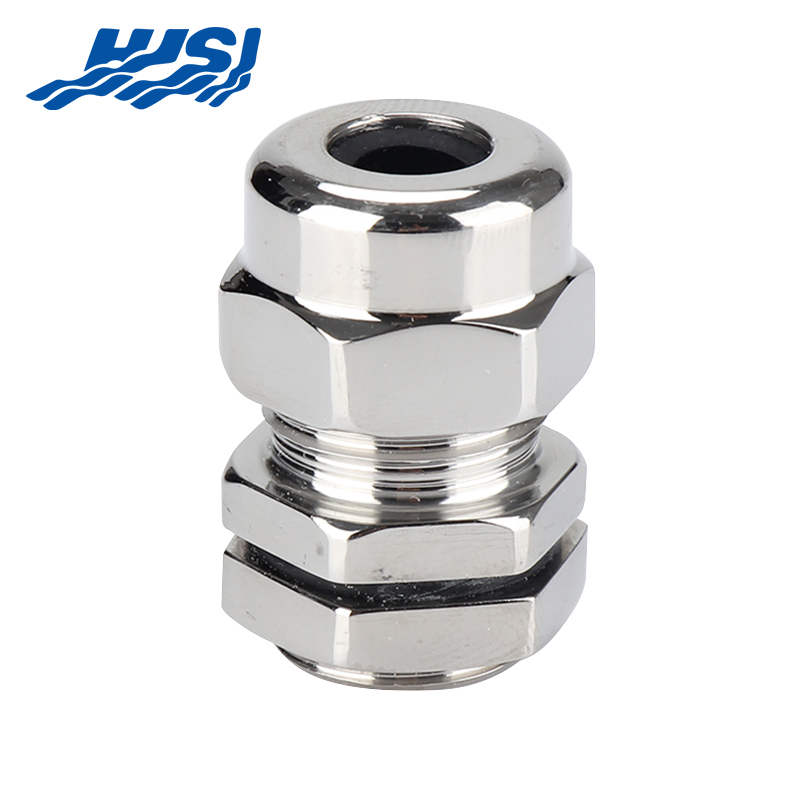
Connectors attach conduit to junction boxes, panelboards, or equipment enclosures. One end secures the conduit; the other passes through a knockout and tightens with a locknut from inside the box. Many include an insulating throat to protect wire insulation at the entry point.
Bushings round off the cut end of conduit at terminations or transitions. They cover sharp edges, reducing abrasion risk when wires exit the conduit into a box or device.
Locknuts secure threaded fittings to enclosures. Installed from the interior side, they clamp the fitting body against the box wall, preventing rotation or loosening.
| Fitting Type | Primary Function | How It Works / Key Features | Main Benefit |
|---|---|---|---|
| Connector | Attaches conduit to boxes, panelboards, or enclosures | One end grips conduit; other end passes through knockout and secures with locknut from inside | Secure termination; protects wire entry |
| Bushing | Rounds off sharp conduit ends at terminations/transitions | Covers cut edges; installed at conduit exit points | Prevents wire insulation abrasion or damage |
| Locknut | Secures threaded fittings to enclosures | Threads onto fitting from inside box; clamps against wall | Prevents loosening or rotation over time |
Tees allow a branch run to depart from the main conduit at a right angle. The internal channel splits gradually, supporting even wire distribution to multiple locations.
Cross fittings extend the tee concept to four directions, useful at intersections where conduit must continue straight while branching both left and right.
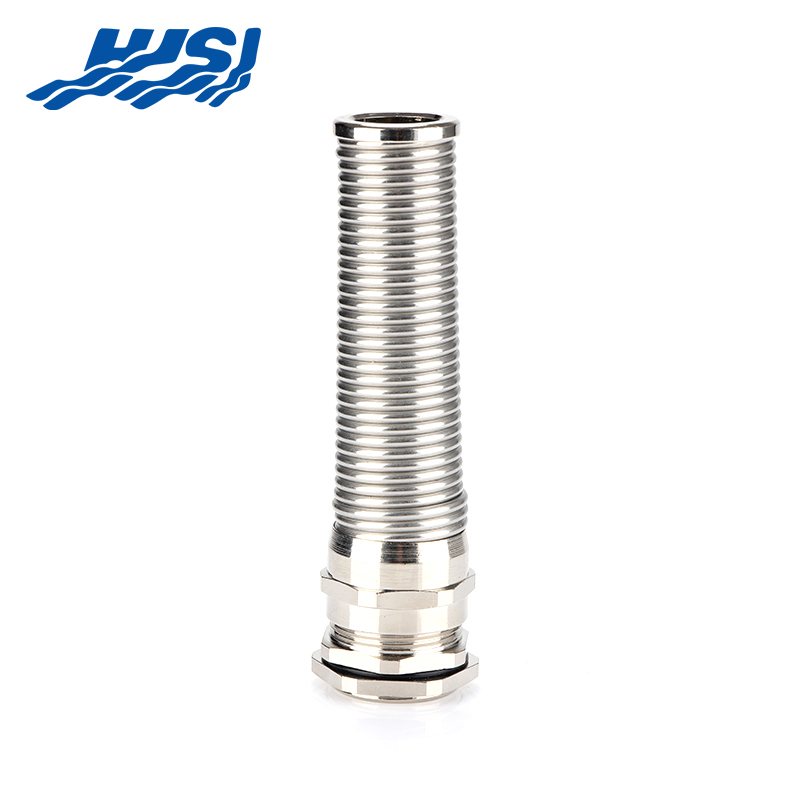
Expansion fittings absorb longitudinal movement caused by temperature fluctuations. A sliding sleeve or flexible bellows section lengthens or shortens, relieving stress on fixed joints in long exposed runs.
Reducers and adapters bridge different conduit sizes or material types. They maintain a secure connection while transitioning diameters or joining dissimilar systems.
Straps, clamps, and hangers support conduit along walls, ceilings, or structural members. Straps loop over the conduit and fasten to the surface; clamps encircle it completely for firmer hold.
Conduit bodies act as accessible pull points or splice locations. Shaped with a short body and removable cover, they simplify wire pulling at bends or junctions and allow inspection or splicing.
Follow these practical steps to install conduit and fittings correctly, ensuring a safe, code-compliant, and long-lasting electrical system.
Following these steps carefully helps create a clean, reliable conduit installation that protects wiring and simplifies future maintenance.
In dry indoor spaces—typical walls, ceilings, or attics—standard rigid metal or EMT fittings usually do the job fine. For anything exposed to rain, snow, or direct weather, switch to rain-tight or weatherproof fittings that have gaskets or O-rings at every joint and knockout.
Underground runs or direct burial call for fittings built to stay buried in soil without corroding or letting water seep in. PVC conduit with properly solvent-welded joints handles this well in most cases.
Where flammable vapors, combustible dust, or explosive atmospheres are present, you need explosion-proof fittings—threaded joints that contain any internal spark and covers that seal tightly.
In places with constant vibration (machinery rooms, near pumps, or on equipment skids), add flexible conduit sections at connection points and extra clamps so fittings don't fatigue and crack over time.
Walk the system every so often and look for obvious trouble: rust spots, cracked plastic bodies, locknuts that have backed off, or water stains around seals. Tighten anything loose and swap out damaged pieces before small problems turn into failures.
In dusty factories or warehouses, blow or wipe down covers and gaskets when you can reach them so dirt doesn't break the seal. Outdoor runs deserve an annual close look—check seals for cracks, weathering, or hardening from sun exposure.
Catch and fix little issues early. A fitting that's slightly loose today can work itself free after a few months of vibration; a tiny leak can invite corrosion that spreads quickly.
Pick fittings that match the conduit material and size first—don't force a mismatch. Go with metal when you need serious strength or a solid ground path; choose plastic when corrosion is a concern or the area stays damp.
Think ahead: if you know the system might get modified later, use conduit bodies or pull elbows with removable covers so you won't have to tear everything apart to add or change wires. Always cross-check that the fittings you select meet local code rules for sealing, grounding continuity, and support spacing.
| Selection Factor | Recommendation / Guidance | Reason / Benefit |
|---|---|---|
| Conduit Material & Size | Match fitting material and size exactly to the conduit | Ensures compatibility, secure fit, no weak points |
| Strength & Grounding Needs | Choose metal fittings | Provides high mechanical strength and reliable grounding path |
| Corrosion or Damp Areas | Choose plastic fittings | Resists rust and chemical corrosion in wet or corrosive environments |
| Future Modifications | Select conduit bodies or pull elbows with removable covers | Simplifies wire addition, changes, or inspection without major disassembly |
| Code Compliance | Verify fittings meet local requirements for sealing, grounding, and support spacing | Ensures safety, legal compliance, and long-term reliability |
Newer fittings are built for quicker work on the job site—some push together or snap-lock with very little tool time, cutting down on labor hours. Material formulas have improved too, so they hold up better against impacts, long-term sun exposure, and harsh chemicals.
Modular pieces let you adjust or expand runs more easily in the field. In a few specialized setups, fittings now come with simple built-in sensors for monitoring, though that's still mostly for critical infrastructure rather than everyday jobs.
All these changes are aimed at the same goals: faster installs, fewer callbacks, and systems that stand up longer under real-world conditions.
HJSI focuses on fittings that deliver secure, consistent connections—whether through precise threading, reliable compression grips, or effective sealing—while keeping installation practical and maintenance simple. The designs emphasize compatibility across conduit types, solid grounding where it matters, and durability in everything from dry indoor runs to exposed or demanding environments, all without unnecessary complexity. Users and installers often point to the clean assembly, minimal callbacks from loose joints or leaks, and the way HJSI fittings hold up over time under vibration, temperature swings, and everyday wear.
For anyone building or upgrading an electrical conduit system where dependable joints, proper protection of conductors, and long-term peace of mind are priorities, HJSI stands out as a balanced, no-nonsense option that supports safe, organized wiring from the first pull to years down the line.

2nd Floor, Building 2, No. 188, Punan 3rd Road, Economic Development Zone, Yueqing City, Wenzhou City, Zhejiang Province, China

Copyright @ Zhejiang HJSI Connector Co., Ltd. All rights reserved.

China Waterproof Breathable Valve Manufacturer
 +86-15858552966
+86-13356176555
+86-15858552966
+86-13356176555

 English
 русский
 عربى
عربى