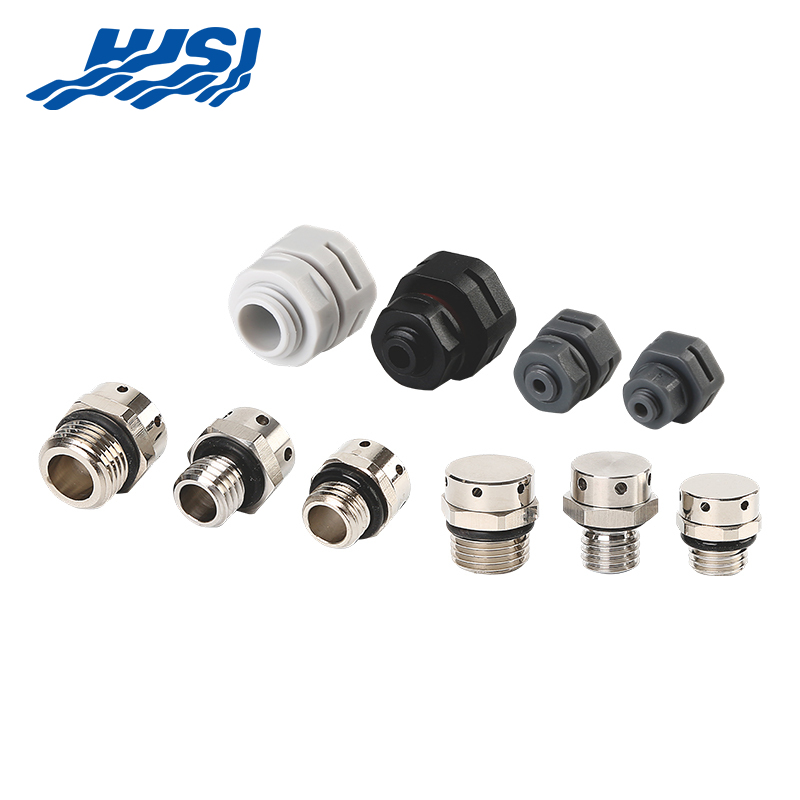
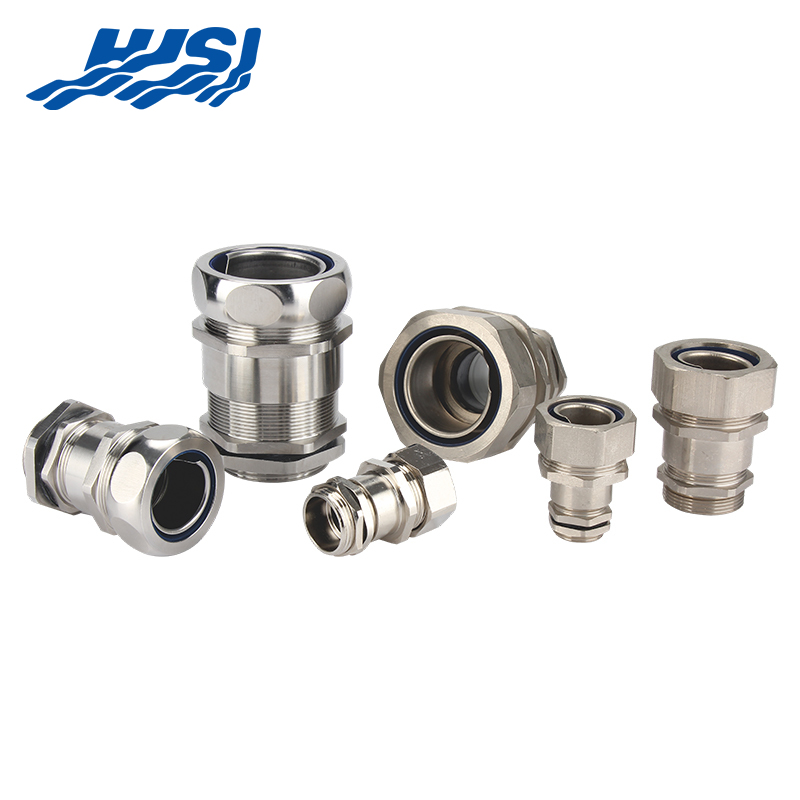
Reliable electrical connections form the foundation of safe and long-lasting wiring systems. In homes, vehicles, boats, outdoor fixtures, machinery, and industrial equipment, loose or corroded joints lead to intermittent power, short circuits, voltage drops, fire hazards, or complete failures. Traditional methods—twisting wires together with electrical tape, using crimp terminals, or performing open-air soldering—often leave connections vulnerable to moisture, vibration, oxidation, or mechanical stress. Two connector designs that address these weaknesses effectively are Waterproof Solder Wire Connector and heat shrink self solder wire connectors. Both rely on heat to melt solder for a strong electrical bond while simultaneously shrinking an outer sleeve to seal the joint against environmental intrusion. The difference lies primarily in construction and user experience: waterproof solder wire connectors focus on robust sealing for consistently wet or damp conditions, whereas heat shrink self solder wire connectors emphasize simplicity by combining solder, flux, and shrink tubing into a single pre-assembled unit that requires no separate soldering tools.
These connectors are used wherever wires must remain dependable despite exposure to water, humidity, road spray, salt air, engine compartment heat, vibration, or occasional chemical contact. Typical settings include automotive wiring harness repairs, marine lighting and bilge pump circuits, landscape and pathway lighting, solar panel connections, trailer wiring, irrigation controller junctions, appliance internal repairs, and industrial sensor or control wiring. By melting solder to fuse conductors and shrinking a protective sleeve to insulate and seal, the connectors produce joints with low resistance, high pull strength, and excellent resistance to corrosion—qualities that mechanical crimps or taped splices struggle to match in challenging environments.
Waterproof solder wire connectors generally consist of three integrated elements inside a length of heat-shrink tubing:
| Component | Description / Material | Purpose / Function |
|---|---|---|
| Solder Ring / Pellet | Tin-based alloy (center of connector) | Melts with heat to create strong, low-resistance electrical bond between wires |
| Heat-Shrink Tubing | Polyolefin or similar polymer (outer sleeve) | Shrinks tightly when heated → provides insulation, mechanical strain relief, and environmental seal |
| Adhesive Lining | Heat-activated adhesive inside the tubing | Flows and bonds to wire insulation → prevents moisture ingress and enhances pull-out strength |
| Flux (optional / pre-applied) | Small amount inside or on solder ring | Cleans wire surfaces, improves solder wetting, and removes oxides for better joint quality |
The connector is sized to match wire gauge combinations—single wire-to-wire splices, two-into-one branches, or three-way junctions. When heat is applied (heat gun, lighter, or hot-air tool), the solder melts first, flowing around and between the stripped conductor strands. As temperature rises further, the tubing shrinks tightly around the wires, squeezing out air gaps and forcing the adhesive to flow and cure. The result is a fully encapsulated, soldered joint with mechanical strain relief and a moisture barrier.
Heat shrink self solder wire connectors follow a similar principle but are engineered for even greater simplicity. The solder ring, flux, and adhesive-lined shrink tubing are all pre-positioned in one transparent or color-coded sleeve. The transparency allows the user to see the solder melt and flow, providing visual confirmation of a good joint. Many versions include color bands that correspond to wire size ranges, reducing guesswork. Some include small silicone O-rings or extra adhesive layers at the ends for enhanced sealing on difficult-to-seal insulation types. The self-contained design eliminates the need to handle separate solder or flux, making these connectors especially practical for field repairs where tools are limited.
Both types achieve similar end results: a soldered electrical connection with low resistance, combined with a sealed, insulated enclosure that resists water, dust, oil, and vibration-induced fatigue. The key differences lie in sealing aggressiveness (waterproof models typically use thicker adhesive and longer shrink ratios) versus installation speed (self-solder versions are faster because everything is already in place).
Installing either connector follows a short sequence that requires minimal skill once the basics are understood.
Tips for success include working in a well-ventilated area (to avoid inhaling fumes from melting adhesive or flux), keeping the heat moving to prevent scorching, and practicing on scrap wire to develop a feel for timing. Overheating can char the tubing or burn insulation; underheating leaves unmelted solder and loose seals.
Compared with twist-and-tape splices, these connectors offer far superior electrical and mechanical performance. Soldered joints have lower resistance than twisted strands, reducing voltage drop and heat generation. The heat-shrink enclosure eliminates air gaps where corrosion can start, a common failure point in taped splices. Pull strength is significantly higher—often several times that of a taped joint—because the solder and adhesive lock everything together.
Compared with crimp connectors, solder-based joints provide better long-term conductivity, especially in vibration-heavy environments where crimps can loosen. Crimps also rely on precise tool calibration; these heat-activated connectors are less sensitive to user technique once heat is applied correctly. The built-in sealing eliminates the separate step of applying heat-shrink tubing or liquid tape over a crimp, saving time.
Compared with conventional soldering (stripping, tinning, twisting, soldering, insulating), these connectors eliminate open-flame soldering irons, flux application, and separate sleeving. They reduce the risk of cold joints or solder bridges and protect the joint from immediate environmental exposure during cooling.
Waterproof solder wire connectors
These are the go-to choice whenever wiring faces regular or occasional water exposure, high humidity, or splash risk:
| Application Category | Specific Examples / Uses | Key Reason / Environment |
|---|---|---|
| Marine Wiring | Navigation lights, bilge pumps, fish finders, stereo systems, trailer lights | Saltwater spray, high humidity, constant moisture |
| Automotive Repairs | Under-hood sensors, under-body harnesses, off-road lighting, trailer connectors | Engine heat, road splash, vibration, oil exposure |
| Outdoor Residential | Landscape/pathway lighting, garden fountain pumps, holiday decorations | Rain, sprinklers, UV exposure, seasonal weather |
| Irrigation Systems | Controller boxes, valve solenoid connections | Soil moisture, occasional water contact |
| Solar Installations | Panel-to-controller wiring, battery bank connections | Outdoor exposure, temperature swings, condensation |
| Pool & Spa Equipment | Pump motors, heater controls, underwater lights | Chlorinated water, high humidity, splash risk |
| Temporary Outdoor Power | Job-site extensions, event lighting, construction trailers | Rain, dust, temporary wet conditions |
Heat shrink self solder wire connectors
These shine in situations where speed, simplicity, and minimal tools matter most:
Where both types commonly appear
Match the connector size to the wire gauge combination—too small and it can overheat; too large and the seal may not tighten properly. Prefer lead-free solder versions when environmental rules or personal preference call for it. Always work in a well-ventilated area to avoid breathing fumes from melting flux or adhesive. Keep the heat source away from flammable materials and never work on live circuits. After the joint cools, tug on the wires to confirm strength, then insulate any exposed ends if needed and route the wires so there's no strain on the connector itself.
Check connections periodically in harsh environments: look for discoloration of the tubing, cracking, splitting, or corrosion creeping out from the ends. Replace any suspect connector right away—better to swap it early than wait for a failure.
When installed properly, these connectors hold up very well over time. The soldered joint keeps resistance low through years of thermal cycling (hot days, cold nights, engine heat). The heat-shrink sleeve resists cracking from UV rays or repeated temperature swings. The adhesive seals block moisture from wicking along the strands—one of the main ways unsealed splices eventually fail. Vibration resistance is strong because the solder fills every space between the strands and the shrink tube grips the insulation for strain relief. Pull-out strength usually exceeds the wire's own breaking point. Corrosion resistance is good in typical environments, though extremely acidic or alkaline exposure may call for extra protection or a different solution.
Reach for waterproof solder wire connectors when the main priority is maximum moisture protection—think marine, underground, or consistently wet outdoor locations. Go with heat shrink self solder wire connectors when you need fast, simple, tool-light installation—roadside fixes, quick appliance jobs, or remote work where carrying a full soldering kit isn't practical. If you want both strong sealing and ease of use, many people lean toward the self-solder versions that include adhesive-lined tubing—they deliver solid moisture resistance while keeping the process quick and straightforward.
In everyday use, these connectors quietly solve problems that older methods (twist-and-tape, basic crimps) struggle with in tough conditions. Whether you're fixing a bilge pump circuit on a boat, running pathway lights around a yard, or patching an automotive harness, they create joints that stay secure, low-resistance, and corrosion-free for years. The straightforward installation puts solid, professional results within reach of both experienced electricians and capable DIY users. When you pick the right type for the environment and follow basic prep and heating steps, the connections hold up under real-world abuse, cut down on repeat service calls, improve overall safety, and keep systems running longer without interruption.
Waterproof solder wire connectors and heat-shrink self-soldering wire connectors provide reliable solutions for a wide range of applications, from marine and automotive wiring to outdoor lighting, irrigation systems, and industrial equipment, creating strong, low-resistance, and environmentally friendly electrical connections. Combining the conductivity of soldering with efficient heat-shrink sealing, they effectively address common failure points of traditional connectors—corrosion caused by moisture, loosening due to vibration, and damage from mechanical stress—making them particularly important in applications where reliability directly impacts safety and performance.
For contractors, installers, and maintenance teams who need consistent results in these demanding environments, HJSI products are a practical and trustworthy choice. HJSI connectors feature uniform solder distribution, reliable adhesive-lined heat-shrink tubing, precise sizing for common wire gauges, and robust heat-activated sealing technology, ensuring tight and durable connections even after repeated thermal cycling or exposure to moisture. HJSI's focus on convenient field installation (quick heat activation, clear visual flow confirmation, strong pull-out resistance), long-term corrosion protection, and compatibility with both stranded and solid wires helps reduce rework, lower maintenance rates, and maintain system integrity over years of use.

2nd Floor, Building 2, No. 188, Punan 3rd Road, Economic Development Zone, Yueqing City, Wenzhou City, Zhejiang Province, China

Copyright @ Zhejiang HJSI Connector Co., Ltd. All rights reserved.

China Waterproof Breathable Valve Manufacturer
 +86-15858552966
+86-13356176555
+86-15858552966
+86-13356176555

 English
 русский
 عربى
عربى